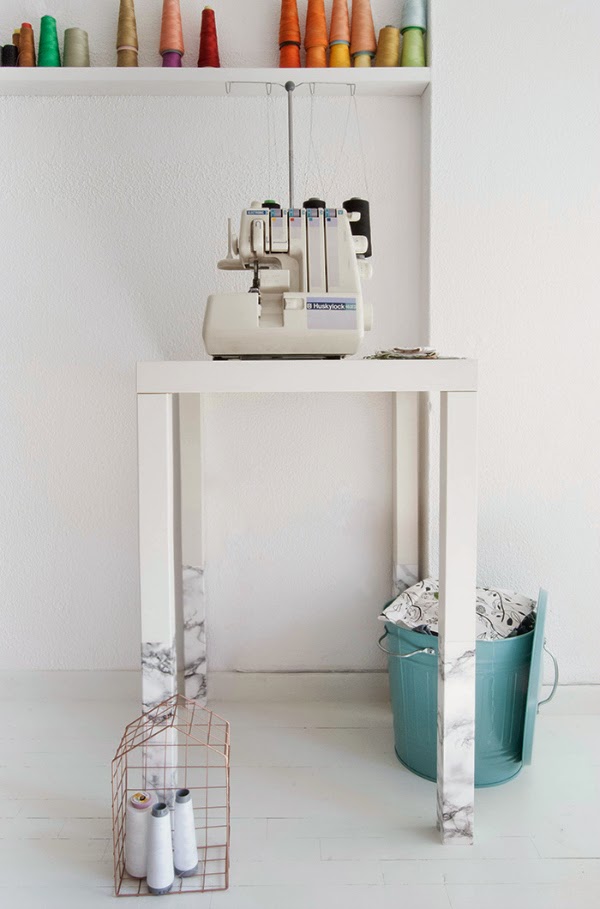
Petros from blog Hommie kindly sent me a DIY. I really like it. It’s quite a flexible project as you could mix colours and even sizes of IKEA Lack tables and possibly other brands too.
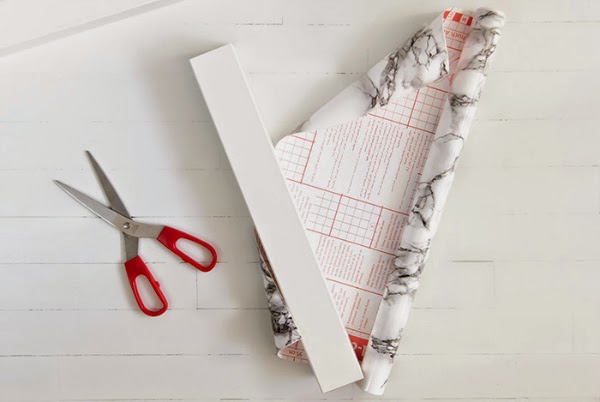
Right, let’s get started. You need 2 x Lack tables, a roll of marble contact paper (if you wish to make the dip dye marble effect Petros has created) and you also need scissors. You’ll have one spare table top when you’ve finished and will have to find a creative solution for what to do with that.. Cut in half it could be two simple bedside tables, couldn’t it?! 😉
First, take four of the legs and mark an X with a pencil on the underside (the side that isn’t drilled), from one corner to the opposite. In this way you’ll find the exact centre of the leg. Next, drill with a 4.5mm drill bit where the two lines meet (on the centre of the X). Note that these sides of the legs you drilled are going to be assembled on the table top.
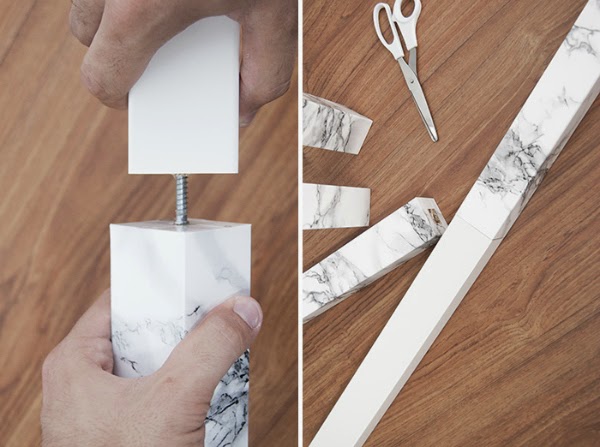
The four remaining legs will be covered with the marble contact paper. Cut the contact paper to be slightly longer than the leg. Slowly and carefully apply the contact paper around the leg, starting from one edge. Press firmly with a ruler as you go to smooth out any air bubbles. Fold the remaining paper on the sides. It’s like wrapping a present!
Assemble each ‘marble’ leg with a white one using the screws of the package. Just connect each side of the screw with the holes on the legs and turn around until the two legs be attached.
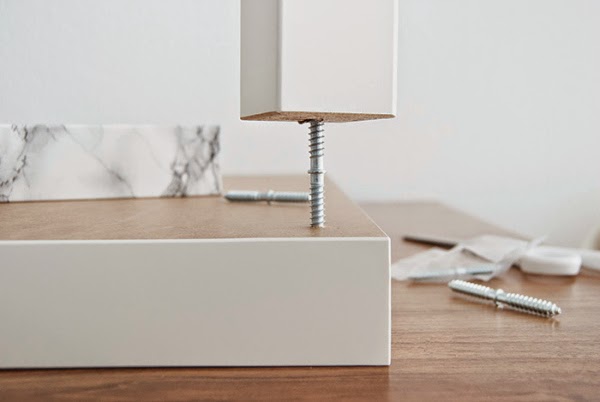
Then, assemble the four ‘new’ legs on the table top, according the IKEA instructions that it comes with.
all photos by Hommie
I think this table can be used in many different situations and will keep this idea in mind.
It would be perfect as a key/mail/bag/allkindsofstuff-table in the hall.
Thank you so much Petros for sending me this project!
Hope you’ve enjoyed today’s Tuesday tips.
hx


Thank you so much for sharing my DIY Hege! Love your post! 🙂