
This is the last post of my Tuesday Tips column! I’ve enjoyed writing lots of tips and DIY the last year and a half (!), so I’ve decided it’s time for a change.
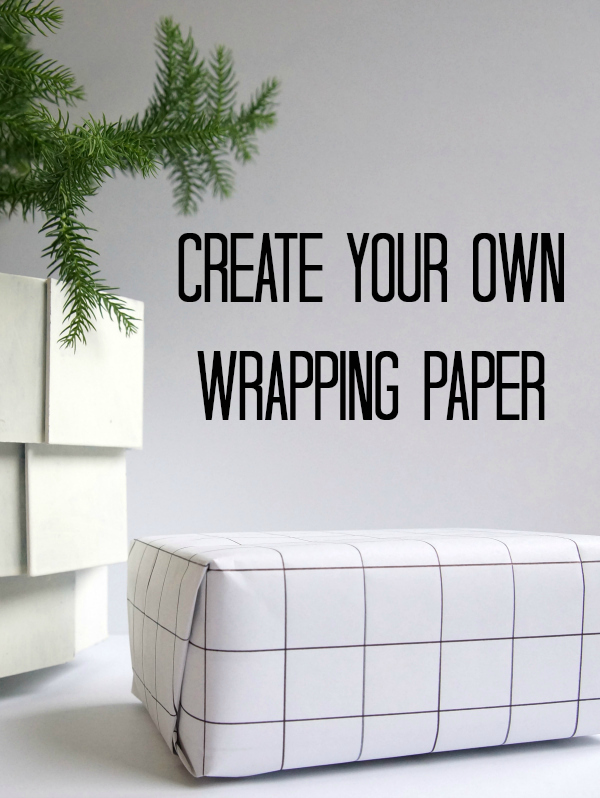
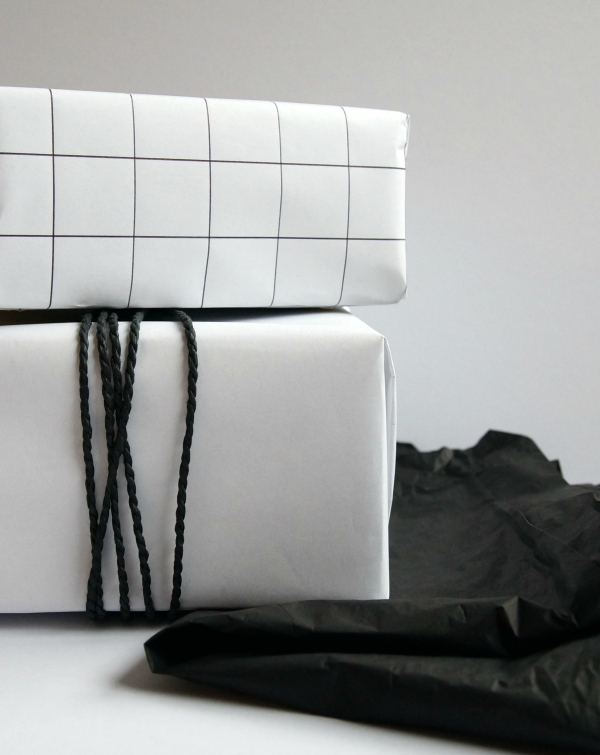
Right, my last tip is – “DIY wrapping paper”! It’s soon Christmas and I’m sure a lot of you are wrapping presents at the moment. I don’t really like very colourful Christmas wrapping paper, so I’ve bought white wrapping paper. Some presents I’ll be wrapping all white, but other ones I’ll be wrapping in my own grid paper. It’s really easy to do and doesn’t take a lot of time. (More grids here.)
Here’s what to do. It’s pretty self-explanatory. Cut the paper you need to the size of the present you will be wrapping. Then start making your lines. I used a black pen, but you could of course create thicker lines with a marker pen. My lines are about 1″ apart. I used my spirit level as a ruler because a normal ruler wouldn’t be long enough. I used a ruler to measure out 1″ after ever line to make the lines look accurate. Once you’ve finished the vertical lines you can start on the horizontal ones. When you’ve created all the lines, your grid wrapping paper is ready for use.
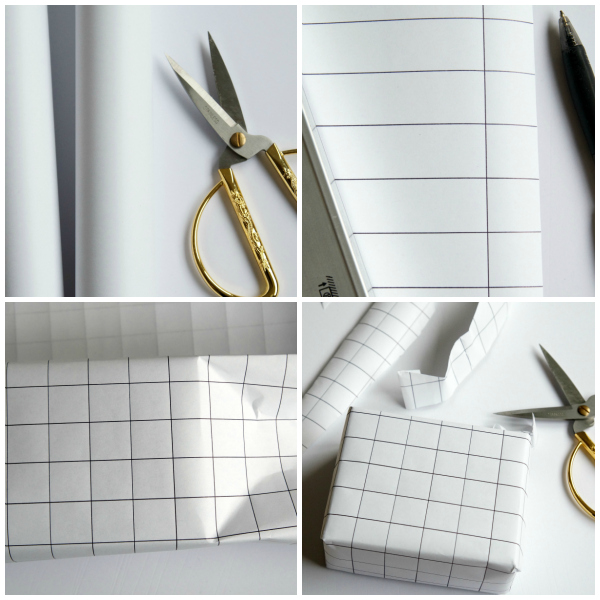
You can of course use rubber stamps in all kinds of chapes or the rubber on a back of a pencil to create dots. If you don’t like black and white, use colours.
Thank you for reading my (many) Tuesday Tips! x
Ohhhhhh! That’s a wonderful early Christmas surprise! Thank you Hege & Matea!!
[…] happy to say that most of our presents are now all ready for Christmas. I add the foliage as late as possible as it is of course better to […]